

Key Takeaways
- Tires are considered unsafe below 2/32 inch of tread depth - the penny test gives a quick visual check.
- Most passenger vehicles require tire pressure between 32 and 35 PSI; always check your driver's door placard for the exact spec.
- Check tire pressure when tires are cold - before driving more than a mile - for the most accurate reading.
- Uneven tread wear patterns can signal alignment, inflation, or suspension problems worth investigating further.
- Inspecting all four tires takes under 20 minutes and is one of the highest-impact safety checks you can perform.
What you will need
Why Tire Condition Matters More Than Most Drivers Realize
Your tires are the only part of the vehicle actually touching the road - four contact patches roughly the size of a sheet of paper each. Everything from braking distance to cornering stability runs through that small rubber interface. Yet tires are among the most overlooked maintenance items in everyday ownership.
Underinflated tires generate excess heat, wear faster, and can increase stopping distances significantly. Worn tread struggles to channel water away from the contact patch, raising the risk of hydroplaning in wet conditions. Neither problem announces itself with an obvious warning until something goes wrong.
The good news: checking both pressure and tread depth is genuinely simple, takes under 20 minutes for all four tires, and requires tools that cost a few dollars. This is squarely in the category of maintenance tasks that are safe and practical to handle yourself - for a broader look at the landscape of owner-serviceable tasks, our DIY car maintenance guide walks through where the line falls. For a full reference on the numbers involved - including rotation intervals - see Tire Pressure, Tread Depth, and Rotation: A Driver's Reference.
Never Rely on Visual Inspection Alone
A tire can look perfectly normal and still be dangerously underinflated. Modern radial tires don't bulge visibly until they are severely low. Always use a pressure gauge - eyeballing is not a reliable method. If your vehicle has a TPMS (Tire Pressure Monitoring System) warning light, treat it as a minimum alert, not a routine reminder: TPMS typically only triggers when pressure drops 25% below the placard spec, which is already in unsafe territory.
What You'll Need Before You Start
The tools required are minimal and inexpensive. A quality tire pressure gauge is the one non-negotiable item - pen-style, dial, or digital all work well, though digital models are easiest to read in low light.
Tire pressure gauge (digital or dial-type)
Measures the air pressure inside each tire in PSI - essential for an accurate reading.
Penny or quarter
Used for a quick visual tread-depth check when a tread depth gauge is not available.
Tread depth gauge
Provides a precise measurement of remaining tread depth in 32nds of an inch.
Air compressor or portable inflator
Allows you to top up pressure if a tire reads below the recommended spec.
Check Pressure Before You Drive
Driving heats the air inside tires, which raises pressure readings by 4-8 PSI. If you check after driving, the reading will appear higher than your actual cold inflation level. Always check pressure first thing in the morning or at least three hours after the vehicle has been parked to get a meaningful number.
Once you have your tools ready and your vehicle has been sitting for at least three hours, you're ready to work through the steps below.
What you will need
Step-by-Step Instructions
Work through each tire systematically - front driver's side, front passenger's side, rear passenger's side, rear driver's side - so you don't accidentally skip one. For vehicles with a spare, include it as a final step.
Locate your recommended tire pressure
Before touching a gauge, find the correct pressure target for your vehicle. Open the driver's door and look for a sticker on the door jamb - this placard lists the recommended cold inflation pressure in PSI for both front and rear tires. Do not use the maximum pressure number molded into the tire sidewall; that figure is the tire's structural limit, not your vehicle's recommended operating pressure. If the placard is missing, check your owner's manual.
Remove the valve cap and take a pressure reading
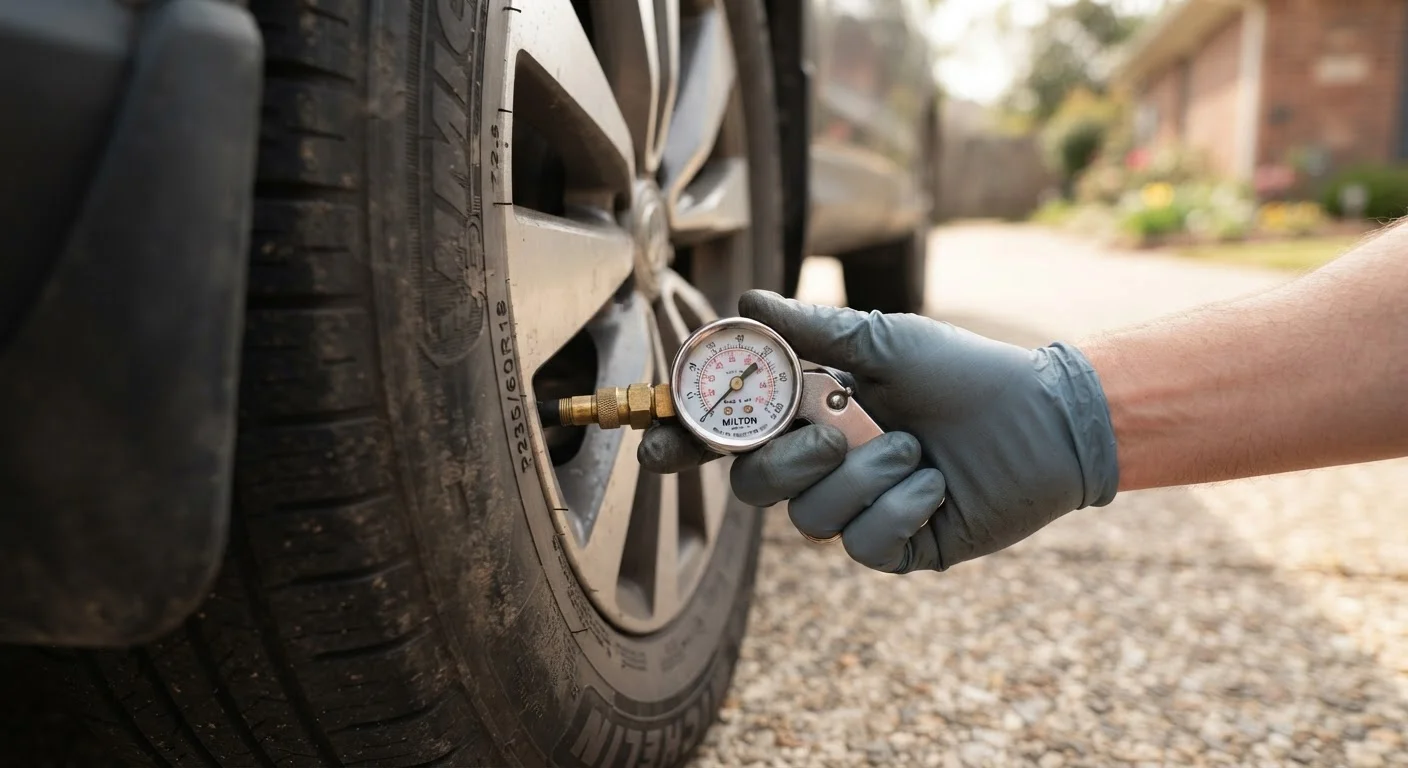
Unscrew the small plastic cap on the valve stem - the short rubber or metal protrusion on the inner wheel rim. Press your gauge firmly and squarely onto the valve stem. A hissing sound means you don't have a full seal; reposition and try again. Read the PSI displayed and compare it to your placard target. Repeat for all four tires, and don't forget the spare if your vehicle carries a full-size or compact spare.
Adjust pressure if needed
If a tire reads low, add air using a compressor or portable inflator in short bursts, checking frequently until you reach the target PSI. If a tire reads high - which can happen in hot weather or after highway driving - use the small pin on the back of most gauges to depress the valve core and release air in small amounts, rechecking as you go. Aim to be within 1-2 PSI of the recommended spec.
Run the penny tread-depth test
Hold a penny with Lincoln's head pointing down and insert it into the shallowest groove you can find on the tire tread. If you can see the top of Lincoln's head, tread depth is at or below 2/32 inch - the federally defined minimum in most states - and the tire should be replaced. For a more conservative check, use a quarter: if the top of Washington's head is visible, you're at or below 4/32 inch, which is the point many safety organizations recommend planning for replacement.
Test multiple grooves across the tire width, not just the center: uneven wear is a data point on its own and may indicate an alignment or inflation problem.
Visually inspect the sidewalls and tread surface
Crouch next to each tire and examine the sidewall for cracks, bubbles, or bulges. A bubble in the sidewall means the internal structure is compromised - that tire needs professional evaluation immediately and should not be driven on at highway speeds. On the tread surface, look for embedded nails or screws, cuts, or chunks missing from the rubber. Also note whether wear is concentrated in the center (overinflation), on both outer edges (underinflation), or on one edge only (alignment issue).
Replace valve caps and document your findings
Reinstall all valve caps finger-tight. Jot down the PSI reading and tread depth for each tire - this creates a simple baseline that makes future checks more meaningful. If any tire needed more than 5 PSI of correction, or if you found tread at or near the replacement threshold, schedule a professional inspection. For context on when DIY checks end and shop visits begin, see our guide on DIY car maintenance vs. taking it to a shop.
If you found anything during this inspection that you're unsure about - significant pressure loss between checks, uneven wear, or sidewall damage - consult our deeper resource on tire safety and when to replace for guidance on next steps. This check is also an important part of your pre-trip routine; our road trip safety check rundown covers tires alongside other critical systems to verify before a long drive.
Build It Into Your Routine
The easiest way to stay consistent is to tie tire checks to something you already do monthly - like the first fill-up of the month. Many gas stations have air machines, making it easy to correct pressure on the spot. This habit takes less time than it takes to pump a tank of fuel.