

Key Takeaways
- Caulk typically lasts 5–10 years depending on location, product type, and surface movement.
- Surface preparation is the single most important factor in how long a new caulk joint holds.
- Using the wrong caulk type for the location is one of the most common and costly mistakes homeowners make.
- Failed caulk around windows, tubs, and door frames is a leading entry point for water damage.
- Old caulk must be fully removed before re-applying — layering over it almost always fails quickly.
Why Caulk Fails in the First Place
Caulk is a flexible sealant designed to bridge the gap between two surfaces that expand, contract, or move slightly over time. That flexibility is also its vulnerability. Repeated movement — from temperature swings, humidity changes, or structural settling — gradually breaks down the bond between the caulk and the surrounding surfaces. Even quality caulk applied correctly will eventually crack, shrink, or pull away from one side of the joint.
Beyond mechanical stress, UV exposure degrades exterior caulk, while constant moisture and soap residue weaken bathroom and kitchen joints. Understanding these root causes helps you choose the right product, apply it correctly, and recognize when it's time to re-seal before water finds a way through. For a broader look at how water intrusion spreads once it enters, see our guide on spotting water damage early.
5–10 yrs
Typical lifespan of quality caulk
Industry guidance generally places caulk longevity at 5–10 years depending on exposure, product type, and application quality — with high-moisture zones degrading faster.
~$11B
Annual US water damage insurance claims
Water damage and freezing account for roughly $11 billion in homeowner insurance claims annually in the US, according to the Insurance Information Institute.
Common Caulking Mistakes — and How to Avoid Them
Most caulking failures trace back to a handful of predictable errors. Recognizing them before you start a project can save you significant time and protect your home from moisture damage.
Applying new caulk directly over old, failed caulk without removing it first.
Why it happens: It looks like a quick fix, and many homeowners assume the fresh layer will bond over the old one and create a better seal.
Skipping surface preparation and applying caulk to a damp, dirty, or soapy surface.
Why it happens: After scraping out old caulk, the joint looks clean enough — but residue, moisture, and mold spores remain invisible to a quick glance.
Using the wrong type of caulk for the location or surface material.
Why it happens: All caulk tubes look similar on the shelf, and the differences in formulation aren't always intuitive to a first-time buyer.
Applying caulk in conditions that are too cold, too hot, or too humid.
Why it happens: Homeowners often caulk whenever they notice a problem, without considering that temperature and humidity directly affect cure time and adhesion.
Applying too much caulk and creating an oversized, rounded bead that doesn't tool flat.
Why it happens: More material seems like it would create a stronger seal, and controlling the bead size with a caulk gun takes practice.
How to Re-Caulk a Joint That's Already Failed
Re-caulking is straightforward, but only if you respect the sequence. Start by removing all existing caulk using a plastic scraper or a dedicated caulk-removal tool — metal tools can scratch tile and fiberglass. For stubborn residue, a caulk softener product applied for 30–60 minutes makes removal much cleaner.
Once the old material is out, clean the joint thoroughly with isopropyl alcohol or a mild mildew-removing solution and let it dry completely — ideally for 24 hours in a well-ventilated space. Any lingering moisture under fresh caulk will prevent a proper bond. Apply painter's tape to both sides of the joint for a clean edge, cut the caulk tube at a 45-degree angle to match the joint width, and apply steady, even pressure as you draw the bead in one continuous pass. Tool the bead immediately with a damp finger or a caulk-finishing tool, then remove the tape before the caulk skins over.
Never Caulk Over Active Moisture or Mold
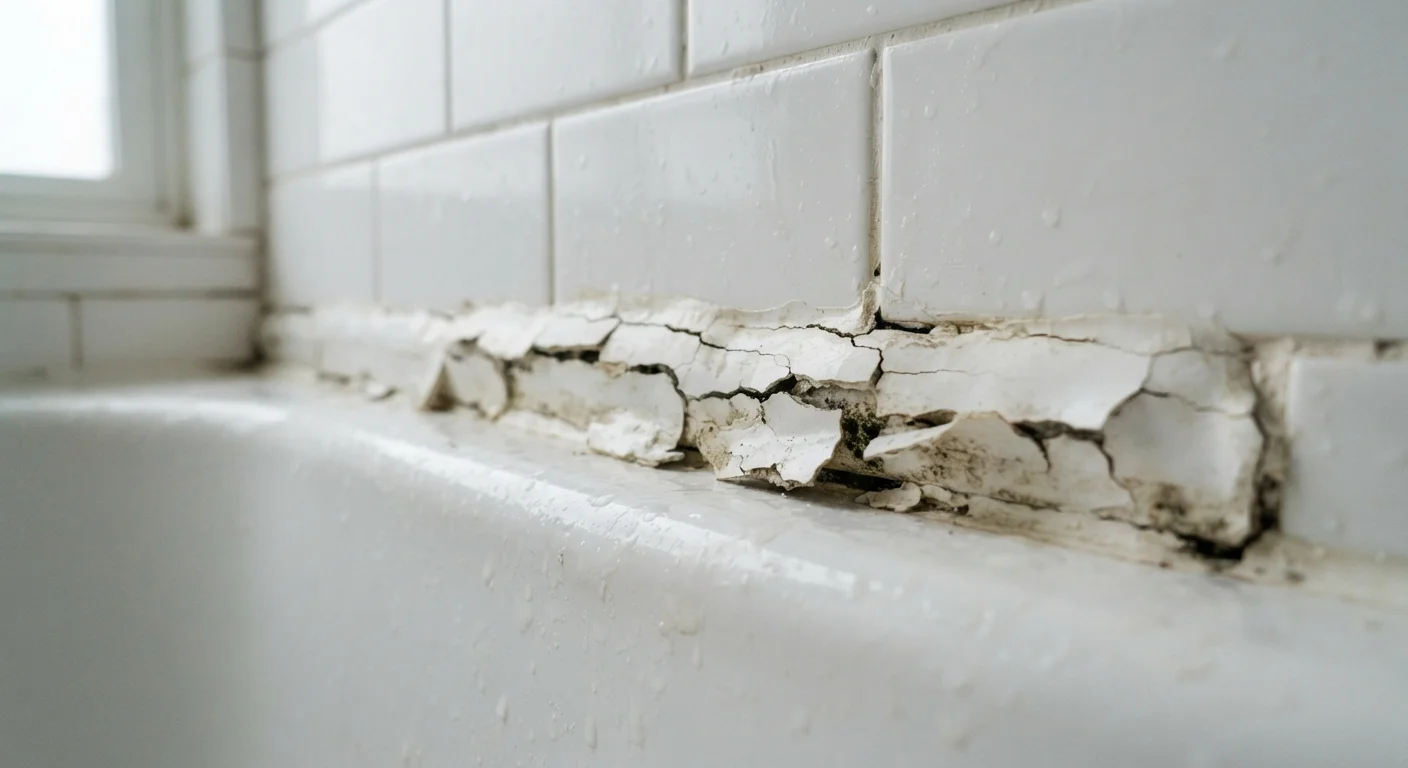
If you can see or smell mold in a joint, sealing over it will not solve the problem — it will trap moisture and allow mold to continue spreading behind the surface. Address the moisture source and treat any visible mold growth before re-sealing. If mold extends into the wall cavity or subfloor, consult a licensed remediation contractor before proceeding.
Bathrooms and kitchens should be kept dry for at least 24 hours after application; some silicone formulations require up to 48 hours to fully cure. Check the product label for guidance specific to your caulk type. For related sealing and weatherproofing tasks throughout the home, the room-by-room winterproofing guide is a useful companion resource.
Inspection, Timing, and Knowing When to Call a Pro
Make caulk inspection part of your regular home maintenance routine — ideally twice a year, in spring and fall. Focus on high-movement and high-moisture zones: around windows and exterior doors, along the tub and shower surround, at the base of toilets, where countertops meet walls, and at the sill plates of basement windows. Failing caulk often shows up first as a hairline crack, a slight separation from one surface, or a change in color indicating mold growth beneath.
If you notice dark staining behind or around a joint, the damage may extend beyond the caulk itself. Water that has traveled behind tile or into a wall cavity warrants closer inspection before re-sealing — caulking over active moisture traps the problem rather than solving it. Our guide on basement moisture and warning signs covers what to look for when water may have already moved deeper into the structure.
Most re-caulking is well within DIY reach. However, if you're dealing with failed caulk around a skylight, chimney flashing, or roof penetration, defer to a licensed roofing professional. Those areas involve flashing systems that interact with roofing materials — improper re-sealing can void existing warranties or worsen the leak.